 Teamviewer
PS Stockbook
Setting up the Layout in Stockbook Live Entry
Summary
How do I setup the layout in Stockbook Live Entry?
Detailed Description
Stockbook Live Entry allows the user to customise the screen to suit the data entry and the information displayed.
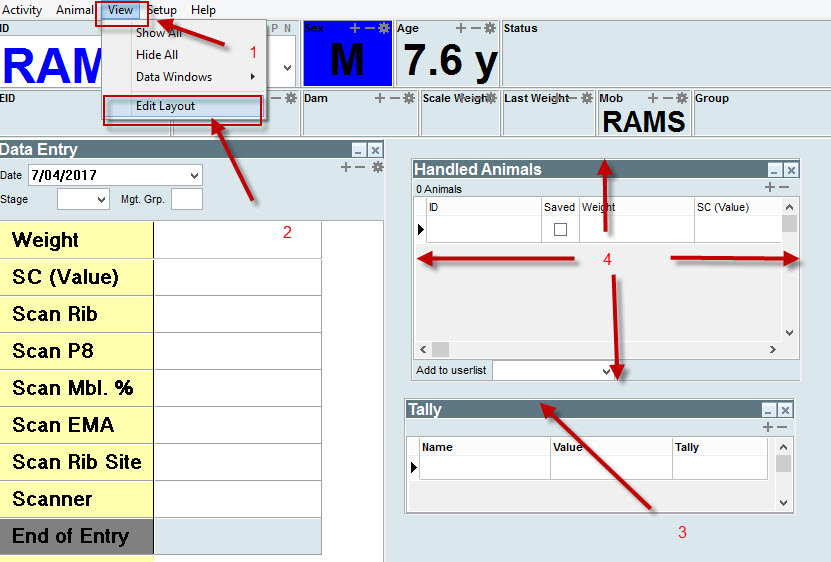
Step 1 - Change the size of the font
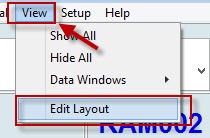
- Click on View, then select edit layout
- Click on the + symbol to make the font larger
- Click on the - symbol to make the font smaller
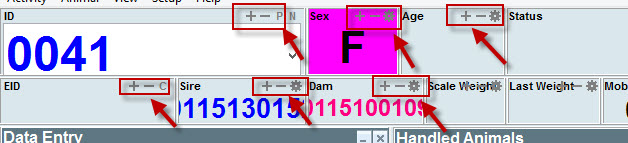
Step 2 - Change the position of the displayed data in the top two rows
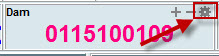
- Click on the cog symbol
- Click on the Text alignment tab
- Select from the Left, Right or Center options
- Click on the OK button

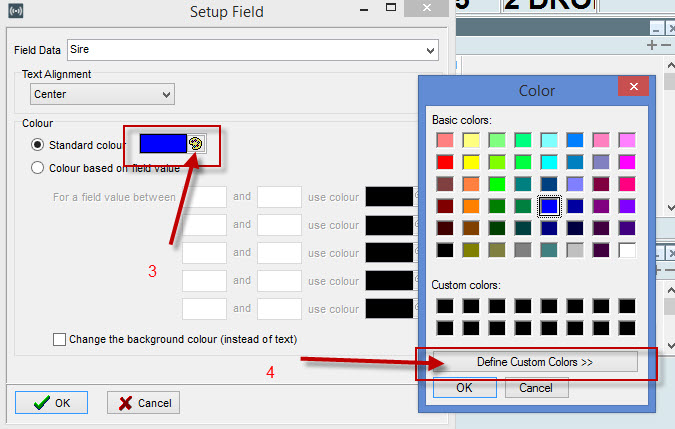
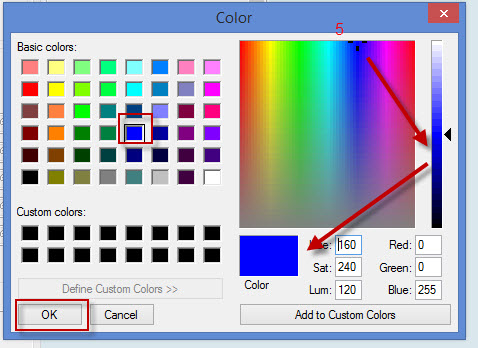
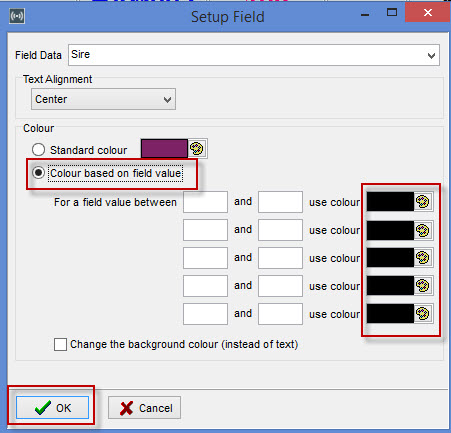
Step 3 - Change the colour of the font in the top two rows
- Click on view
- Select Edit layout and click on the cog symbol
- Select the Standard Colour option
- Selct Default Colours if you wish to select more colours
- Select new colour you would like to add and click add
- If you selected Colour based on field value, enter the required values For a field value between ...... and ......
- Click on the paint symbol
- Select colour you wish to have
- Click on the OK button
- Click on the OK button
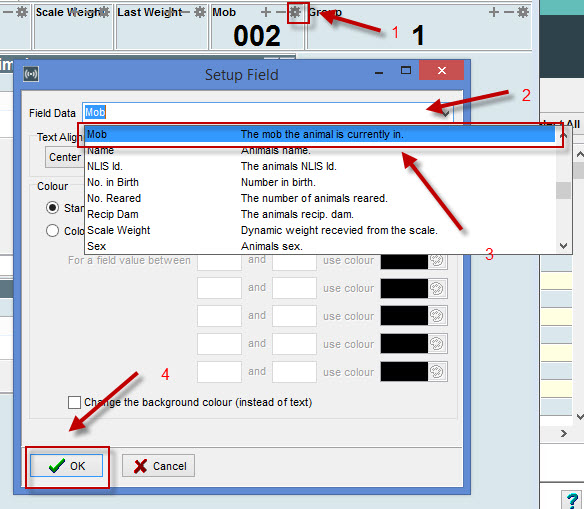
Step 4 - Change the displayed Field Data in the top two rows
- Click on the cog symbol
- Click on the Field Data tab
- Select the required data from the drop down list
- Click on the OK button

Step 5 - Customise the Live Entry screen
- Click on view
- Select edit layout
- Hover over required size you want to reposition and drag the window to the required position on the screen
- Hover on any edge of the Window to resize the window
Was this helpful?
Not helpful (
) Very helpful